
Crafts
Leaf Friends ~ Fall Leaf Rubbing Fun
Recently we shared our Leaf Rubbing Family Tree which was launched from our leaf rubbing science project. Not only did we make a family tree, we made a bunch of...
Frog Puppets with Free Frog Facts Printable
{disclaimer ~ affiliate links are used in this post} We have been studying frogs lately – my daughter’s choice. We have learned a ton and will be sharing a full...
Leaf Rubbing Family Tree Craft
What began as a simple leaf rubbing science project ended with a leaf rubbing family tree craft that I am just in love with. Her ideas are better than...
Acorn Friends ~ Fall Craft for Kids
One morning last week I was out running errands for hours. I came home expecting to find my husband studying in his office {he is in grad school full time...
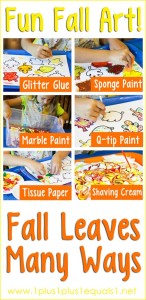
Fall Leaves Many Ways ~ Fun Fall Leaf Art
{Disclaimer ~ affiliate links used, full disclosure at bottom of site} We recently enjoyed an intense crafty session creating fall leaves using many different methods! I would have only attempted...
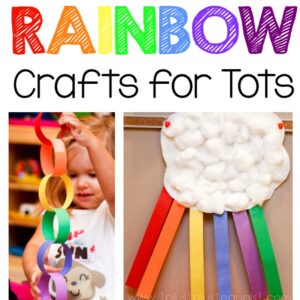
Rainbow Crafts for Tots and Preschoolers
We have enjoyed several fun rainbow crafts over the years and I am pulling them all together in this post for you! These crafts were all done with my daughter...
Perler Bead Alphabet
It’s no secret we love Perler Beads around here. All three of my kids love creating and then playing with their creations. We have numerous hand made Perler Bead toys!...
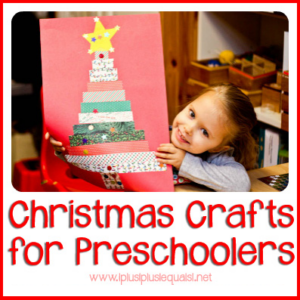
Christmas Crafts for Preschoolers
This year I planned crafts for my girl since she loves crafts! She is very picky, however, so I chose carefully. I used my Christmas Pinterest board and let her...
Mouse Paint Preschool Fun
{disclaimer ~ affiliate links are used in this post} We used the book Mouse Paint for our special Letter M theme and Ladybug loved it! Here’s her special Mouse Paint...
Ideas for Using ~ ABC Letter Crafts
There are many creative art opportunities for you to explore with the Animal ABC letter crafts. The templates are blank and simple in nature for this reason, so you can...
Magnetic Gems
We have magnetic pom poms and we use them all of the time! I am not sure why it never occurred to me to make other objects magnetic for the...
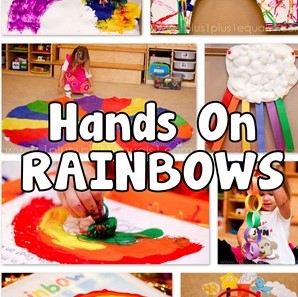
Hands On Rainbows & Toys, Crafts, Books
I had so much fun choosing toys, crafts, books, and manipulatives for Ladybug’s Rainbow theme, I thought I would share some of our hands-on ideas all in one place! ...
